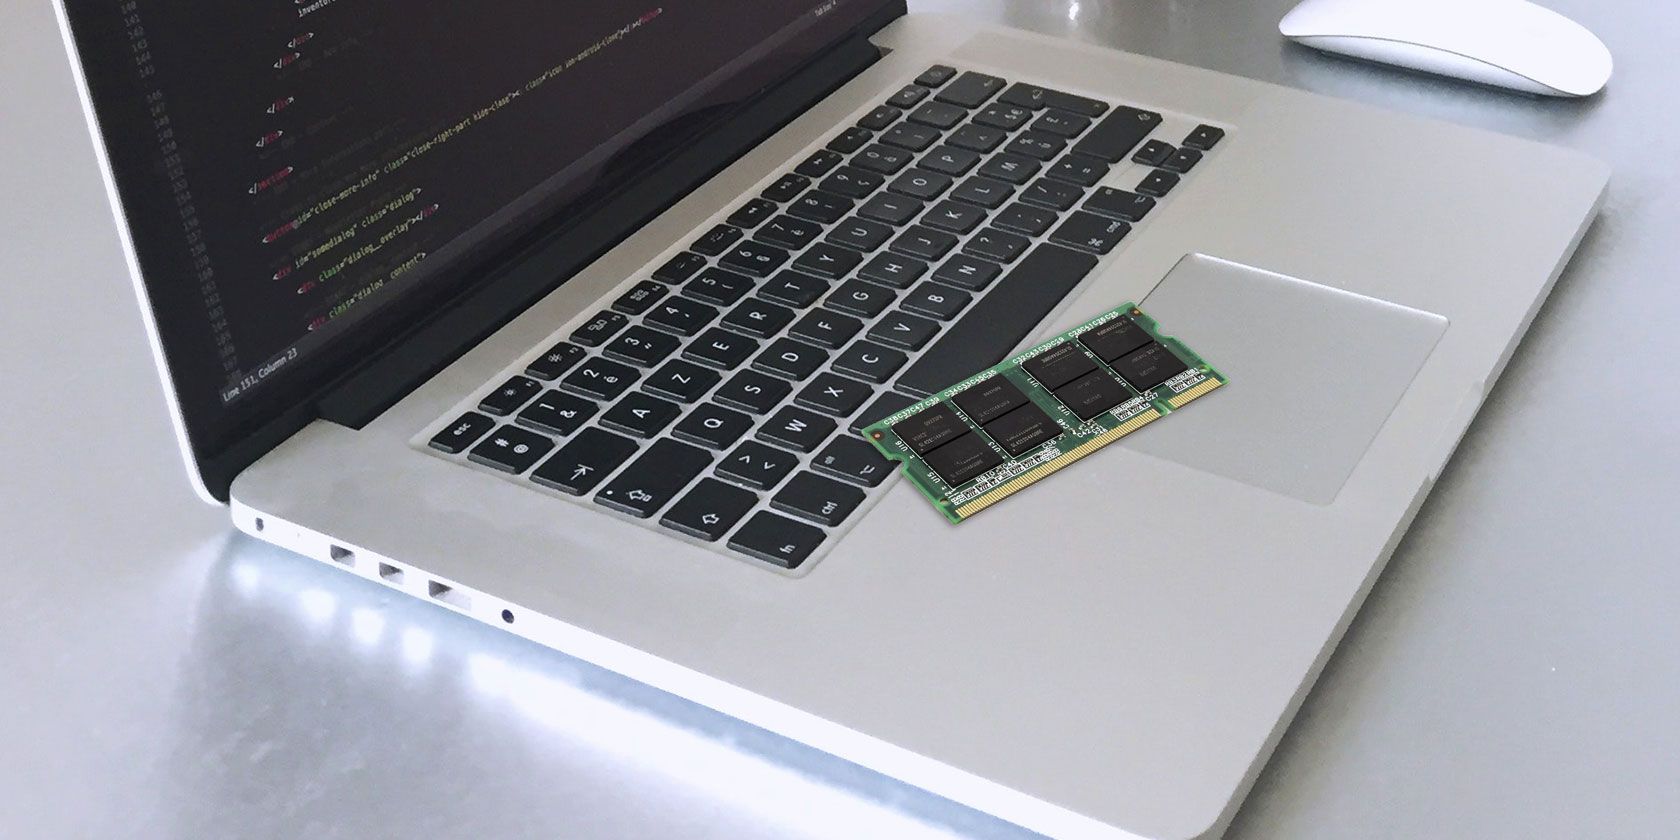
If your Mac is feeling sluggish, upgrading the RAM is a great tweak to make. While swapping an old hard disk drive for a modern SSD is the most drastic hardware improvement, a Mac RAM upgrade lets you run more programs simultaneously.
However, what you can do with your Mac’s RAM depends on your exact model. We’ll look at which Mac models allow RAM upgrades, where to buy Mac RAM, and how to actually upgrade the RAM on your device.
Which Mac Models Allow for RAM Upgrades?

Unfortunately, most modern Macs don’t allow you to upgrade the RAM yourself.
Recent MacBook Pro and MacBook Air models have the RAM soldered to the motherboard. Some newer iMacs technically have user-upgradeable RAM, but doing so requires extensive teardown of the machine. We wouldn’t recommend trying this unless you’re extremely experienced with electronics and your machine is already out of warranty.
The below Mac models have user-upgradeable RAM:
- iMac (All except the following 21.5-inch models: Late 2012, Late 2013, Mid 2014, Late 2015, Retina 4K Late 2015, 2017, Retina 4K 2017, and Retina 4K 2019)
- Mac Pro (All models)
- Mac Mini (2010-2012 models)
- MacBook (2008-2011 models)
- MacBook Pro 13″ (2009-2012)
- MacBook Pro 15″ (2008-2012)
- MacBook Pro 17″ (All models)
If you have one of the following Mac models, you cannot upgrade the RAM (in some cases, such as the 2018 Mac Mini, it is possible but quite difficult):
- iMac Pro (All models)
- Mac Mini (2014, 2018)
- MacBook Air (All models)
- 12″ MacBook (All models)
- MacBook Pro with Retina Display (All models)
- MacBook Pro with Touch Bar (All models)
In essence, the newer your Mac model, the less likely it is that you can upgrade the RAM.
How to Find Which Mac Model You Have

Many Macs look alike, so you should check the exact model that you have before you start shopping for RAM.
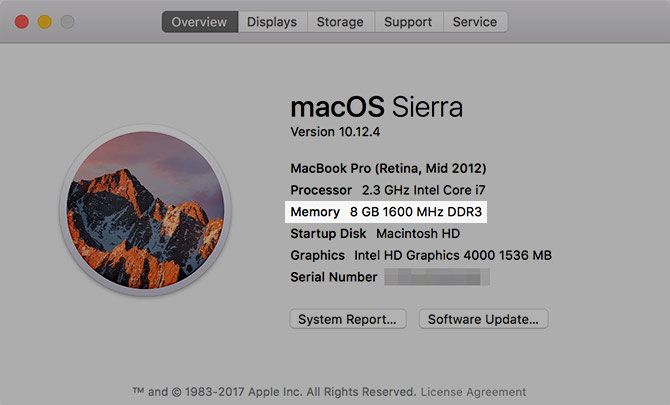
macOS makes this process easy. Click the Apple menu in the top-left corner of your screen and choose About this Mac. On the resulting Overview tab, you’ll see the name of your Mac at the top of the information. This will be something like MacBook Pro (15-inch, 2016). This page shows how much memory you have installed, as well.
To avoid any mistakes, you should also get the exact model identifier for your device. To do this, click the System Report button. Then, in the Hardware Overview section, look for the Model Identifier field. This will be something like MacBook7, 1.
Keep this in mind as you look for RAM to buy.
How to Buy the Right RAM for Your Mac

Due to the sheer number of Mac models available, we can’t give exact details on the correct RAM for every machine. However, you’ll find a variety of sites that make finding the right sticks of RAM for your model easy.
The first place you should stop is Other World Computing’s Mac RAM page. This allows you to select your Mac model to find compatible RAM. You’ll see the Macs each kind of RAM works in, along with easy videos on how to replace it. The company even offers trade-in value for your old RAM.
As an alternative, have a look at Crucial’s Mac memory hub. Here you can either enter your computer info (found earlier) or download a scanner tool that checks for you. You’ll then see a page containing SSDs and RAM that are guaranteed to work in your machine.
For more detailed guides, have a look at iFixIt’s Mac Repair page. You’ll find detailed steps for RAM upgrades here.
Ensuring Mac RAM Compatibility
When buying RAM, compatibility with your system is vital. Not every type of RAM will work in every Mac computer, so it’s important to make sure you buy a component that’s suitable. Otherwise, you could go through all the effort to upgrade the RAM and end up with an unusable computer.
This is why we recommend buying from a store that specializes in Mac RAM upgrades. You might be able to shop around and find a better price for RAM found on the above sites. If you do so, make sure you search by SKU so you don’t end up buying something that’s slightly different.
We recommend staying away from cheap, junky RAM with few or poor reviews. The few dollars you save isn’t worth the risk of bad RAM bringing down your system.
Finally, you’ll need to buy the right amount of RAM for your system. Have a look at OWC’s MaxRAM page to see how much RAM your particular machine will take. In many cases, this exceeds the “maximum” provided by Apple.
This page also details how many memory slots your machine has; most MacBook models have two slots. To take advantage of dual-channel memory, you’ll want to buy two sticks that add up to your desired total. For example, if you want to upgrade to 8GB of RAM, buy the 4GB x 2 pack.
How much RAM you should buy depends on your needs. 8GB is a good baseline if you aren’t a heavy computer user. If you often multitask, and your computer supports it, jumping to 16GB is a good idea.
See our quick guide to RAM if you’d like more info.
How to Upgrade the RAM in Your Mac
Finally, let’s review the general process for the actual RAM upgrade in your machine. As mentioned, we can’t go over the instructions for every single Mac model. Check the videos OWC offers on its RAM purchase pages for more specific instructions.
Below we’ll provide a basic overview of how this looks on a mid-2010 MacBook. While it may be slightly different on yours, the basic process is the same. Most iMac models have a convenient window to access the RAM compartment, making it even easier than on a laptop.
While working, beware of static discharges, which can damage computer components. Make sure to ground yourself on a metal object before you start this process, and work on a static-free surface. Don’t wear fuzzy pants or drag your feet on carpet while working.
When you handle the RAM, make sure you grab it by the sides so as not to touch any of the sensitive parts. Avoid handling the RAM by the gold connection pins.
Step 1: Remove the MacBook Cover

First, shut down your computer if it isn’t already. Next, unplug your Mac from its power source and remove any connected accessories. Flip your MacBook upside-down, and you’ll see several screws securing the bottom cover. Remove these using a standard Phillips head screwdriver.
Take care not to strip the screws as you remove them. You may want to keep a paper towel or something to place the screws on, as they’re small and easy to lose.
Step 2: Remove the Old RAM

Once the cover is off, you should be able to spot the RAM, as MacBooks don’t have many user-removeable parts. In the above image, the RAM is the small green component above the Samsung drive.
With our MacBook in this example, two small clips on either side of the RAM hold it in place. Gently push these towards the outside of the RAM and it will spring up, allowing you to pull it out.

Repeat the process of pushing the clips out to free and remove the second stick of RAM, then set the old components aside.
Step 3: Install the New RAM

Grab your new RAM and line up the notch in its connection pins with the notch in the RAM seat. It will only go one way, so it shouldn’t be difficult to find the right fit.
After lining up the notches at roughly a 30 degree angle and pushing in gently, push down on the RAM softly and you’ll feel it click into place. Repeat this once more for the second stick, and you’re all set.
After the new RAM is securely in place, you’re ready to put the cover back on. However, while you have your computer disassembled, it’s worth taking a minute to clean any visible grime. Use a cotton swab or some canned air to remove any dust buildups, especially in the fan.
To put the cover back on, simply line it back up and screw the screws back in.
Step 4: Confirm That Your Mac Recognizes the RAM
After this, you can boot up your computer to make sure it’s recognizing the RAM correctly. In the About This Mac window we visited earlier, you should see the new amount of RAM next to Memory. If you want to see more details, you can open System Report and click the Memory tab.
Afterward, check out other ways to make your old Mac feel like new.
Your Mac RAM Upgrade Is Complete
Now you have everything you need to complete this process. Whether you’re interested in an iMac or MacBook Pro RAM upgrade, you know how to find the right RAM for your system and get it installed. It’s a relatively straightforward computer upgrade that will have a big effect.
Before spending money on new RAM, consider replacing your Mac with a new one instead.
Read the full article: How to Upgrade the RAM on Your Mac
from MakeUseOf https://ift.tt/33hpBdM
via IFTTT
No comments:
Post a Comment