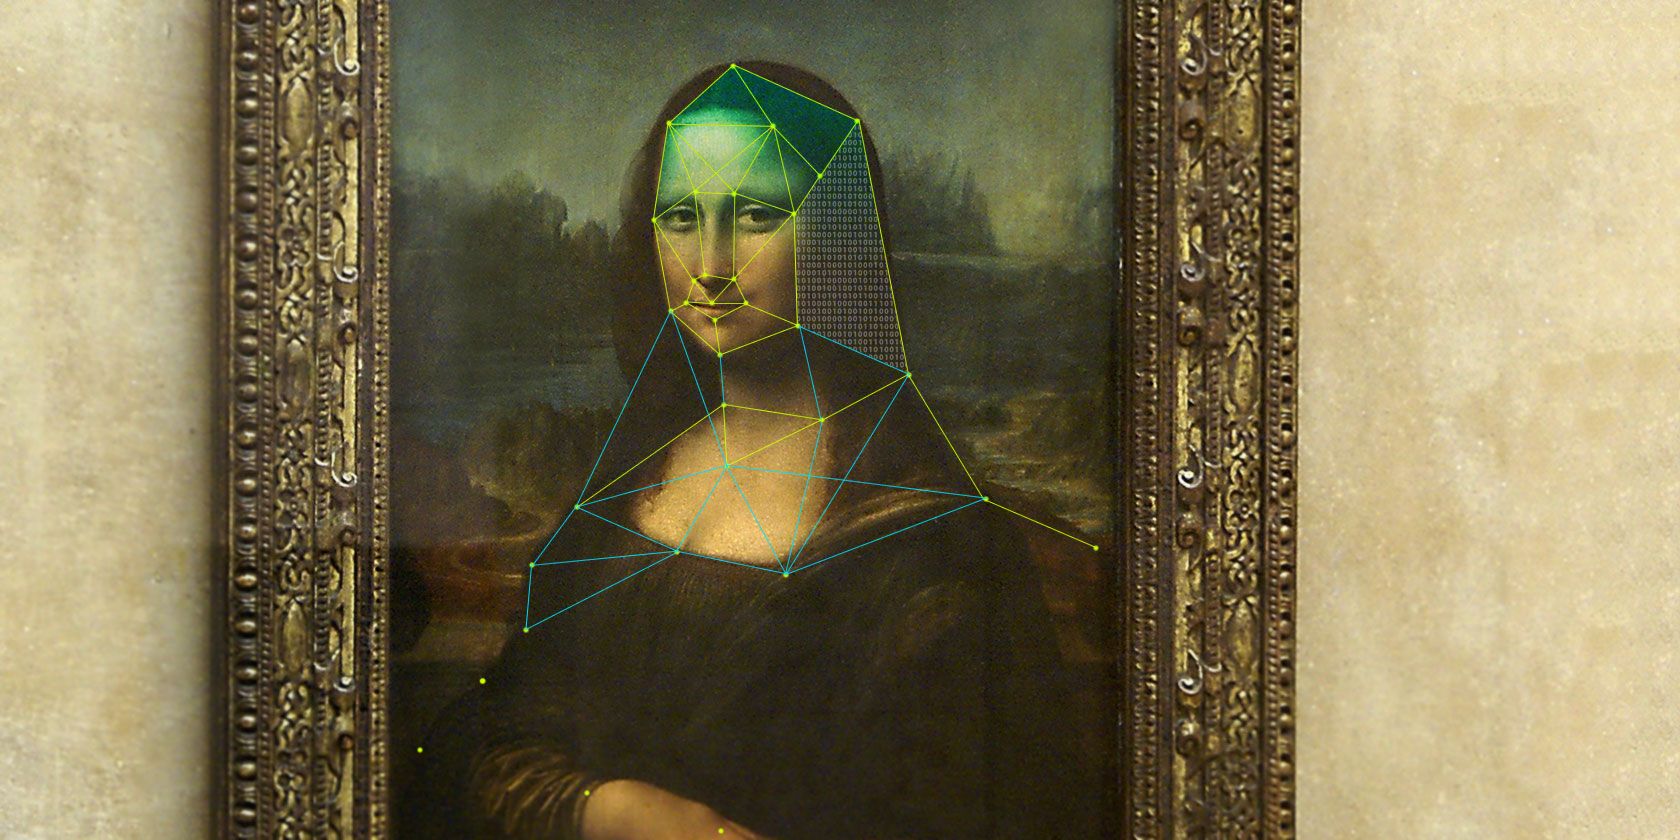
TensorFlow is Google’s Neural Network library. Given that machine learning is the hottest thing around currently, it is no surprise that Google are among the leaders in this new technology.
In this article, you will learn how to install TensorFlow on the Raspberry Pi, and run simple image classification on a pre-trained neural network.
Getting Started
To get started with image recognition, you will need a Raspberry Pi (any model will work) and an SD card with the Raspbian Stretch (9.0+) operating system (if you’re new to the Raspberry Pi, use our installation guide). Boot up the Pi and open a terminal window. Make sure your Pi is up to date, and check your Python version.
sudo apt-get update
python --version
python3 --version
You can use both Python 2.7 or Python 3.4+ for this tutorial. This example is for Python 3. For Python 2.7, replace Python3 with Python, and pip3 with pip throughout this tutorial.
Pip is a package manager for Python, usually installed as standard on Linux distributions. If you find you don’t have it, follow the install for Linux instructions in this article to install it.
Installing TensorFlow
Installing TensorFlow used to be quite a frustrating process, but a recent update makes it incredibly simple. While you can follow this tutorial without any prior knowledge, it might be worth understanding the basics of machine learning before trying it out.
Before installing TensorFlow, install the Atlas library.
sudo apt install libatlas-base-dev
Once that is finished install TensorFlow via pip3
pip3 install --user tensorflow
This will install TensorFlow for the logged in user. If you prefer to use a virtual environment, modify your code here to reflect this.
Testing TensorFlow
Once it has installed, you can test whether it is working with the TensorFlow equivalent of a Hello, world!
From the command line create a new Python script using nano or vim (If you aren’t sure which one to use, they both have advantages) and name it something easy to remember.
sudo nano tftest.py
Enter this code, provided by Google for testing TensorFlow:
import tensorflow as tf
hello = tf.constant('Hello, TensorFlow!')
sess = tf.Session()
print(sess.run(hello))
If you are using nano, exit by pressing Ctrl + X and save your file by typing Y when prompted.
Run the code from the terminal:
python3 tftest.py
You should see “Hello, TensorFlow” printed. If you are running Python 3.5, you will get several runtime warnings. The official TensorFlow tutorials acknowledge that this happens, and to ignore it.

It works! Now to do something interesting with TensorFlow.
Installing the Image Classifier
In the terminal, create a directory for the project in your home directory and navigate into it.
mkdir tf1
cd tf1
TensorFlow has a git repository with example models to try out. Clone the repository into the new directory:
git clone https://github.com/tensorflow/models.git
You want to use the image classification example, which can be found at models/tutorials/image/imagenet. Navigate to that folder now:
cd models/tutorials/image/imagenet
The standard image classifying script runs with a provided image of a panda:

To run the standard image classifier with the panda image provided enter:
python3 classify_image.py
This feeds an image of a panda to the neural network, which returns guesses as to what the image is with a value for its level of certainty.

As the output image shows, the neural net guessed correctly, with an almost 90 percent certainty. It also thought the image might contain an custard apple, but it was not very confident with that answer.
Using a Custom Image
The panda image proves that TensorFlow works, but that is perhaps unsurprising given it is the example the project provides. For a better test, you can give your own image to the neural net for classification. In this instance, you’ll be seeing if the TensorFlow neural net can identify George.

Meet George. George is a dinosaur. To feed this image (available in cropped form here) into the neural net, add arguments when running the script.
python3 classify_image.py --image_file=/home/pi/george.jpg
The image_file= following the script name allows the addition of any image by path. Lets see how this neural net did.

Not bad! While George is not a triceratops, the neural net classified the image as a dinosaur with a high degree of certainty when compared to the other options.
TensorFlow and Raspberry Pi, Ready to Go
This basic implementation of TensorFlow already has potential. This object recognition is happening on the Pi, and needs no internet connection to function. This means that with the addition of a Raspberry Pi camera module and a Raspberry Pi-suitable battery unit, the whole project could go portable.
Most tutorials only scratch the surface of a subject, but it has never been truer than in this case. Machine learning is an incredibly dense subject. One way to take your knowledge further would be by taking a dedicated course. In the meantime, get hands on with machine learning and the Raspberry Pi with these TensorFlow projects you can try yourself.
Read the full article: Get Started With Image Recognition Using TensorFlow and Raspberry Pi
from MakeUseOf https://ift.tt/2NJ9MnW
via IFTTT
No comments:
Post a Comment